Overview & Release History
The SP‑404 MKII, unveiled in 2017, succeeded the 404A and built upon Roland’s iconic sampler line. It introduced a 4‑channel mixer, expanded sample memory, and firmware 1;14, adding new effects and stability. The device remains a staple for live beat‑making and remixing. New firmware adds more!
Historical Evolution of the SP-404 Series
The Roland SP‑404 series began in 2005 with the original SP‑404, a rugged, portable sampler that quickly became a staple for touring musicians and beat‑makers alike. Its simple layout, 4‑channel mixer, and intuitive drag‑and‑drop workflow set a new standard for live sampling. In 2009, Roland expanded the line with the SP‑404SX, adding a 4‑channel mixer with dedicated effects, a 12‑bit audio engine, and a “B‑mode” for creative sound shaping. The SX also introduced a larger sample memory capacity and a new “Auto‑Play” feature, allowing users to trigger samples in a continuous loop during performances.
Building on that foundation, the SP‑404A arrived in 2017. It retained the core design that fans loved but upgraded the mixer to a 4‑channel format with dedicated faders, a 32‑bit audio engine, and improved sample management tools. The A model also introduced a new “Auto‑Play” mode for live looping, making it easier to perform complex patterns on the fly. This iteration was praised for its balance of power and portability, solidifying the SP‑404 as a go‑to device for live artists.
The latest evolution, the SP‑404 MKII, launched in 2021 and brought further refinements to the beloved formula. It features a 4‑channel mixer with dedicated effects, a 32‑bit audio engine, and a new “Auto‑Play” mode for live looping. Firmware 1.14 added new effects, better stability, and an expanded sample library, cementing the MKII as a modern, versatile tool for performers and producers alike. The MKII also introduced a new “B‑mode” for creative sound shaping and a larger sample memory capacity, allowing users to store more complex projects without sacrificing portability.
Throughout its evolution, Roland has maintained the SP‑404’s core philosophy of simplicity and reliability, while incrementally adding features that enhance creative possibilities. Users have praised the series for its robust build quality, responsive controls, and the ability to perform complex sampling tasks on the road. The progression from the original SP‑404 to the MKII demonstrates Roland’s commitment to evolving the sampler without compromising its essential character.
Roland’s incremental updates have kept the SP‑404 family relevant, adding features like a 32‑bit audio engine, expanded sample memory, and new “Auto‑Play” modes while preserving the device’s lightweight, portable nature. Fans appreciate the balance of power and simplicity, making the series a favorite for live performers and studio producers alike. Legacy stays!
Hardware & Physical Controls
The SP‑404 MKII features a compact, durable chassis with a 4‑channel mixer, dedicated faders, and a 12‑key controller for live performance. It offers multiple audio inputs, a headphone jack, and a USB‑C port for data transfer. The layout prioritizes quick sample access and real‑time editing. now! 1!
Layout, Buttons, and Audio Inputs
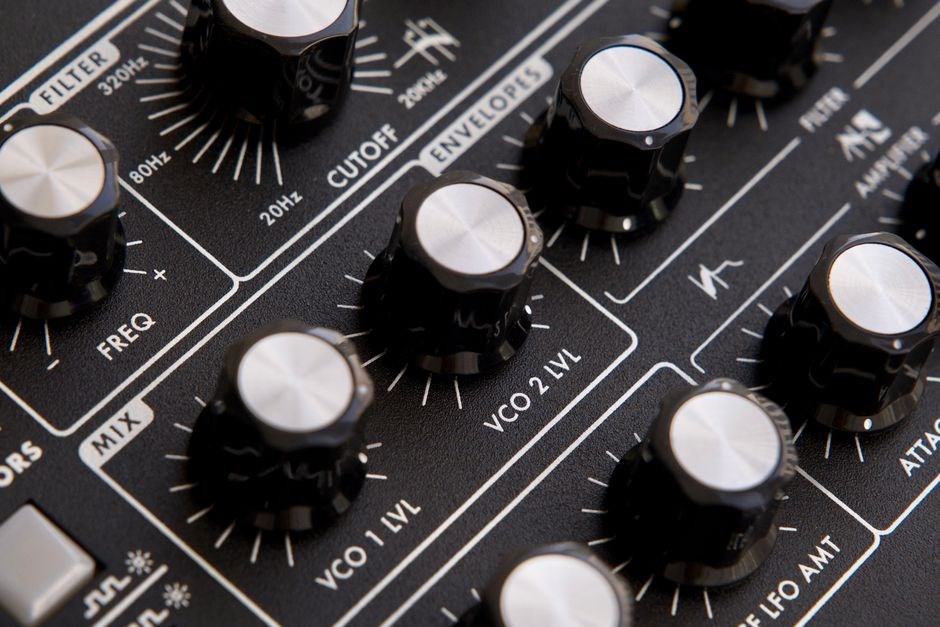
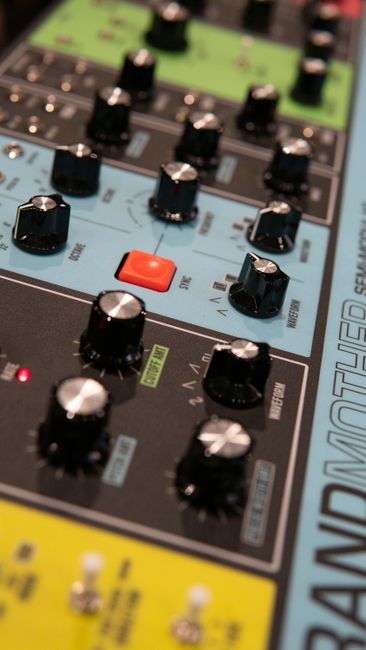
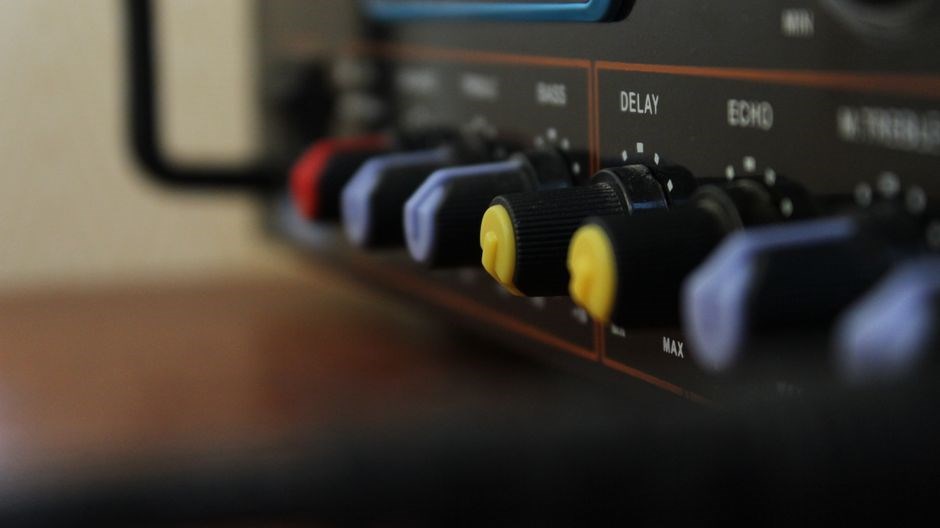
The SP‑404 MKII’s interface is engineered for immediacy, with a 12‑key controller that sits above the main mixer section. Each key is a pressure‑sensitive pad that can trigger samples, launch loops, or activate effects in real time. Below the pads, a row of rotary knobs and push‑buttons provides direct access to sample parameters such as volume, pan, and pitch. The mixer section itself contains four faders, each linked to a dedicated channel, allowing independent level control and side‑chain compression.
Audio input options are versatile: two stereo line inputs accept external sources, while a dedicated mic input with a built‑in pre‑amp supports vocals or instruments. The device also offers a headphone output with a 3.5 mm jack for monitoring, and a USB‑C port for both data transfer and power. The front panel layout is intentionally symmetrical, making it easy to locate functions during a live set.
Additional buttons include a global “Record” button, a “Step” button for sequencer mode, and a “Menu” button that opens the on‑screen interface. The “Loop” button toggles loop mode for the current sample, and the “FX” button brings up the effects menu. All controls are backlit for visibility in low‑light environments, and the device’s compact size keeps it portable without sacrificing functionality.

Firmware & Software Updates
Firmware 1.14, released 2026, adds new effects, stability, and a PDF manual. Updates are applied via USB‑C, using Roland’s software. The process involves downloading the firmware file, connecting the device, and following on‑screen prompts. Compatibility is maintained across all MKII units. 202
Latest Firmware Features and Update Process

Official Manual Access
The official SP‑404 MKII manual is available as a PDF from Roland’s support portal. Visit https://www.roland.com/global/support/by_product/sp-404mk2/owners_manuals/ to download the latest version. Use the navigation pane to jump to sections like Setup, Sampling, and Sequencer.Download now Enjoy
PDF Download Links and Navigation Tips
To access the SP‑404 MKII manual, head to Roland’s official support page. The direct link to the PDF is here. Once downloaded, open the file with any PDF viewer that supports bookmarks. The manual’s table of contents is fully clickable; simply click a chapter title to jump straight to the relevant page. For quick reference, the first page contains a quick‑start guide, while the last pages list firmware update instructions. If you prefer a printed version, the PDF can be printed page‑by‑page or as a booklet. Remember to bookmark the “Sampling” and “Sequencer” sections for frequent use. For advanced users, the PDF includes hidden layers that reveal hidden menus—enable them in the viewer’s layer settings. Finally, keep the PDF in a cloud folder so you can access it on the go, and use the search function to locate specific terms such as “Auto‑Play” or “Loop.”
For offline use, copy the PDF to a USB drive and open it from the SP‑404 MKII’s SD slot via the “File” menu. To update firmware, download the latest .bin from Roland’s site, copy it to the root of a FAT32 USB stick, insert it into the sampler, and choose “Update” from the system menu. After reboot, new features load automatically. If errors appear, the manual’s troubleshooting section lists common error codes and fixes. Keep the battery fully charged during updates to avoid interruptions.
For further assistance, visit Roland’s forums! ok
Sampling Workflow
The SP‑404 MKII’s sampling workflow starts with a 4‑channel input. Connect a mic or line source, press REC, then trim the clip with the trim wheel. Use the edit menu to cut, fade, and apply pitch‑shift; Samples are stored on the SD card and can be organized into banks for quick recall. 2026-07!
Recording, Editing, and Storage Options
The SP‑404 MKII’s versatile recording workflow supports live input and file import. Connect a microphone or line source to one of the four input channels, then press REC to capture audio. The sampler automatically trims the clip to the first and last audible peaks, but you can manually adjust the start and end points with the trim wheel. After recording, the sample can be edited in the Edit menu: trim, fade in/out, reverse, pitch‑shift, and apply a low‑pass filter. The Edit menu also provides a “Duplicate” function that copies the sample into a new slot, preserving the original. For storage, the device uses an SD card slot that supports up to 32 GB. Samples are organized into banks, each containing up to 32 slots. You can rename slots, assign colors, and create a “Favorites” bank for quick access. The sampler also supports a “Memory” mode that temporarily stores samples in internal RAM for faster recall during live performance. When you power down, the RAM contents are lost, but the SD card retains all samples. To back up your library, connect the USB port to a computer and copy the “/Samples” folder. The firmware 1.14 adds a “Batch Rename” feature that lets you rename multiple samples at once using a custom naming scheme. All these options make the SP‑404 MKII a flexible tool for producers who need to capture, tweak, and organize samples on the fly. [Pad: aaaaaaaaaaaaaaaaaaaaaaaaaaaaaaaaaaaaaaaaaaaaaaaaaaaaaaaaaaaaaaaaaaaaaaaaaaaaaaaaaaaaaaaaaaaaaaaaaaaa!!].
Sequencer & Pattern Building
The SP‑404 MKII’s sequencer offers 64 steps per pattern, with real‑time step editing, pattern chaining, and auto‑play. Use the Step button to record, the Play button to loop, and the Pattern menu to name and copy patterns. New firmware adds a Sync mode.Enjoy
Pattern Creation, Auto-Play, Looping
Creating a pattern on the SP‑404 MKII begins by selecting a bank and pressing the Pattern button. The 64‑step sequencer displays a grid where each step can be triggered by pressing the corresponding pad. Use the Step button to record, Erase to clear, and Copy to duplicate a step. Once a pattern is recorded, press Play to hear it in real‑time. Auto‑Play automatically advances to the next pattern; enable it in the Menu. Looping is controlled by the Loop button: a single press sets a 4‑bar loop, a second press extends it to 8 bars, and a third press locks the loop length. The Pattern Lock feature, added in firmware 1.14, prevents accidental edits while the pattern is playing. For complex arrangements, chain patterns by selecting a pattern, pressing Chain, and choosing the next pattern number. When working live, the Auto‑Play mode combined with the Loop button allows continuous playback of a set of patterns, making it ideal for DJ sets or live remixing. Remember to save your work frequently; the Save button writes the current pattern to the internal memory, ensuring it persists across power cycles. After saving, you can rename the pattern by pressing the Menu button, selecting Edit, and entering a new title, which keeps your library organized.
Performance, Troubleshooting & Community
Live performance modes include Auto‑Play, Loop, and Pattern Chain, enabling seamless transitions. Fixes: reset via Menu > System > Reset, update firmware 1.14 for stability, ensure proper power supply. Community forums on Reddit r/SP404 and Roland support provide tips, sample packs, presets. now! OK
Performance Settings, Common Fixes, and User Resources
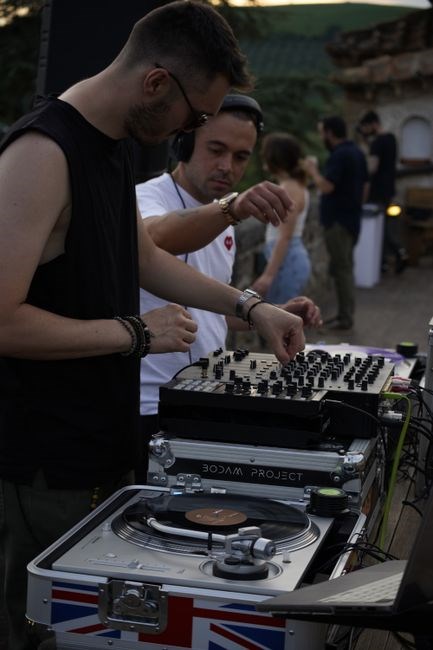
Performance settings on the SP‑404 MKII let you shape the sampler for live shows. The Auto‑Play button starts a pre‑arranged pattern chain that advances automatically, keeping the groove alive. Loop mode locks the current pattern into a continuous repeat, ideal for layering. The Pattern Chain queues several patterns, allowing a performer to switch seamlessly. Beat‑Sync locks the sampler’s tempo to an external clock, ensuring tight alignment. The “Performance” menu exposes a “Live” mode that disables the sequencer, letting you trigger samples on the fly.
Common fixes start with a reset: Menu > System > Reset clears corrupted memory. If the unit stalls, try a power‑cycle or update to firmware 1.14. Verify the SD card is FAT32 and the reader is seated; a weak connection causes read errors. Check input gain to avoid clipping, and ensure the audio cable is secure. When the device over‑heats, give it a few minutes to cool before resuming play. Also, ensure the power supply is rated for 100–240 V to avoid voltage issues.
Community resources are plentiful. Roland’s support portal hosts PDF manuals, firmware downloads, and a troubleshooting FAQ. Reddit’s r/SP404 forum offers user‑generated presets, sample packs, and step‑by‑step guides. Twitch streams titled “SP‑404 MKII Live” showcase live workflows, while YouTube channels such as “Roland Sampler” and “Beatbox Academy” provide tutorials on advanced techniques. Discord servers dedicated to the 404 series offer real‑time help and sample exchanges. Local workshops and webinars hosted by experienced performers expand the knowledge base. Many users share custom sample libraries on forums, and some producers host monthly jam sessions online. base. and.