
Understanding Street Parking Rules in Residential Areas (WA)
Navigating residential street parking in Western Australia requires understanding local regulations, signage, and potential permit requirements to avoid fines and ensure road safety.
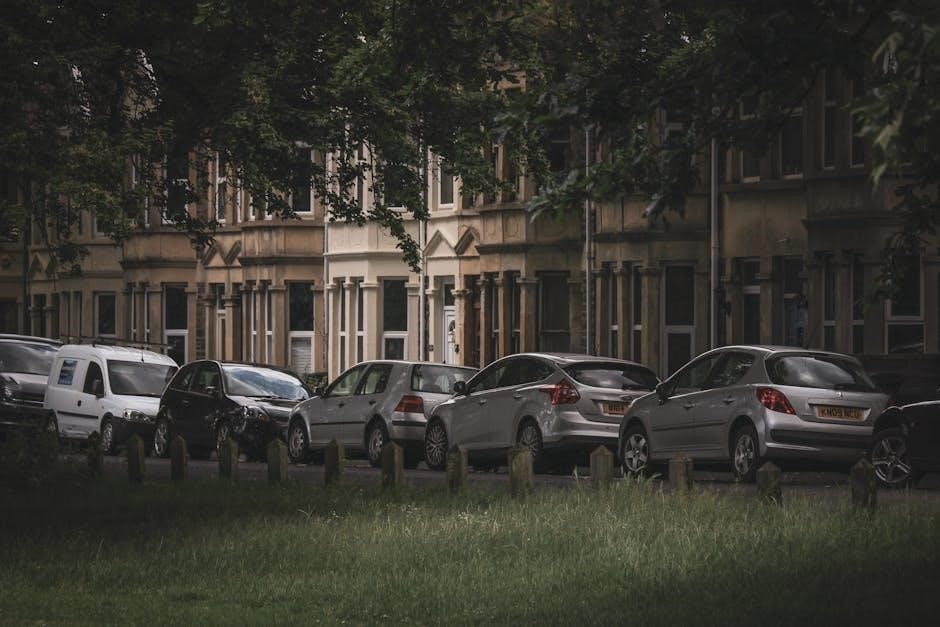
Residential parking regulations in Western Australia (WA) are crucial for maintaining smooth traffic flow and ensuring fair access to limited street parking spaces. These rules, often managed by local councils like the City of Wanneroo, aim to balance the needs of residents, visitors, and commuters. Understanding these regulations is vital to avoid costly fines, vehicle immobilization, or towing.
Generally, WA parking rules dictate where and when you can park, with specific attention paid to ‘no parking’ and ‘no stopping’ zones. Regulations also cover parking direction – vehicles must face traffic – and distances from intersections and driveways. Permit systems are frequently implemented in densely populated areas to prioritize resident parking. Detailed information is available through the WA Government Department of Transport and individual council websites.
Overview of WA Parking Legislation
Western Australia’s parking legislation is primarily governed by the Road Traffic Act 1974 and associated Road Traffic Code. These laws empower local governments to create and enforce parking regulations within their jurisdictions, leading to variations between councils. The Department of Transport oversees the broader framework, providing guidelines and ensuring consistency.
Key legislative aspects include defining ‘stopping’ versus ‘parking’, outlining permissible parking locations, and establishing penalties for violations. Councils can prohibit or regulate parking through signage, and implement permit schemes. Drivers have a legal duty to be aware of and comply with these rules, ensuring their vehicles don’t pose a hazard. Resources like the Department of Transport website offer comprehensive details on WA’s parking laws and regulations.

Common Parking Restrictions
Residential areas frequently feature ‘No Parking’ and ‘No Stopping’ zones, time limits, and permit requirements, all clearly indicated by signage for driver awareness.
No Parking Zones and Signage
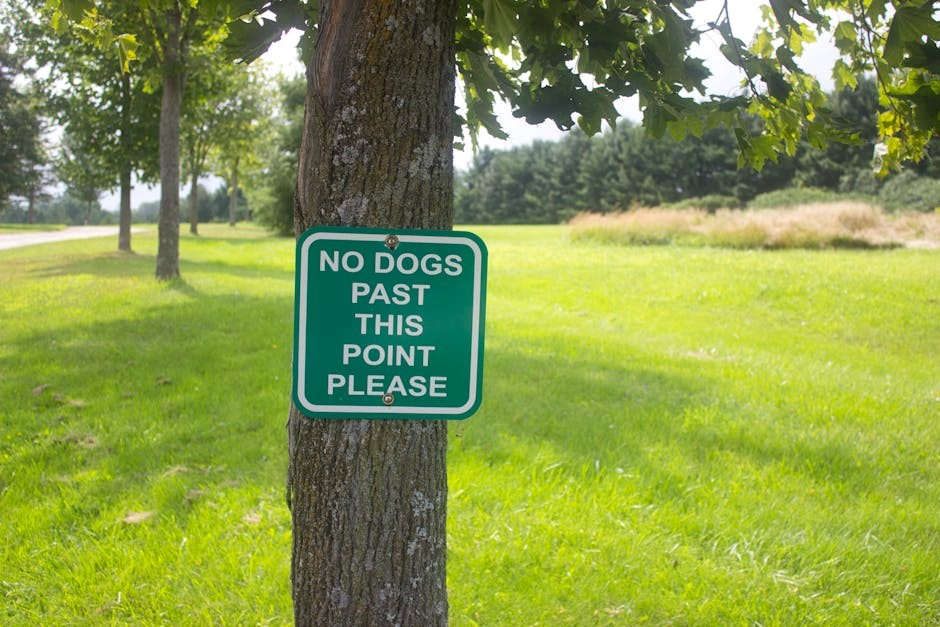
Clearly defined ‘No Parking’ zones are established via prominent signage, indicating areas where vehicle parking is prohibited at all times, except for brief stops for passenger drop-off or goods delivery. These signs are legally binding, and ignoring them results in penalties. Signage varies, but commonly displays a red ‘P’ crossed out, sometimes accompanied by specific time restrictions or conditions.
Understanding these signs is crucial; a ‘No Parking’ sign doesn’t allow stopping even momentarily, unlike a ‘No Stopping’ sign. Local councils, like the City of Wanneroo, utilize these signs to maintain traffic flow, visibility at intersections, and access for emergency vehicles. Drivers must observe signage carefully, as regulations can change based on location and time of day. Failure to comply can lead to substantial fines and potential vehicle towing.
No Stopping Zones and Their Implications
‘No Stopping’ zones, unlike ‘No Parking’ areas, permit brief stops for immediate passenger drop-off and pick-up, or urgent goods loading/unloading – however, drivers cannot leave the vehicle unattended. These zones are typically indicated by a sign displaying a red line across a blue background, often near intersections, bus stops, or pedestrian crossings.
The implication of a ‘No Stopping’ zone is maintaining clear traffic flow and pedestrian safety. Extended stops, even with a passenger present, are prohibited. WA legislation enforces strict adherence, and exceeding the permitted brief stop duration results in infringements. Councils utilize these zones to prevent obstruction and ensure accessibility. Drivers must be aware that a ‘No Stopping’ zone doesn’t authorize parking, even for a short period, if the vehicle is left unattended.
Time Restrictions for Parking
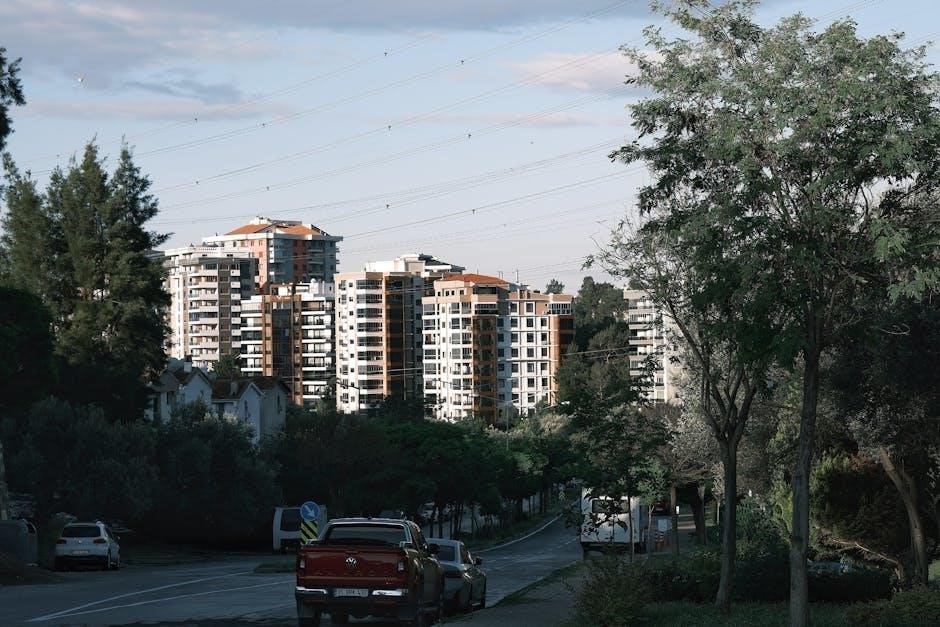
Many residential areas in Western Australia implement time restrictions on street parking to manage demand and prioritize resident access. These restrictions are clearly indicated by signage detailing specific days and hours when parking is permitted or prohibited. Common examples include restrictions during peak hours, school zones, or street cleaning schedules.
Ignoring these time limits can lead to substantial fines and potential vehicle immobilization. Restrictions often vary by street and may be subject to change, so drivers must carefully observe posted signs. Councils may also utilize timed parking zones to encourage turnover and support local businesses. Understanding these limitations is crucial for responsible parking and avoiding penalties within WA residential zones. Always double-check signage before leaving your vehicle.
Permit Parking Systems in Residential Areas
Western Australia’s local councils frequently employ permit parking systems in densely populated residential areas to prioritize parking for residents and their visitors. These permits typically require proof of residency and may be subject to annual fees. Permits don’t guarantee a parking space, but allow parking in designated zones where restrictions apply to non-permit holders.
It’s important to note that permits are not universally valid; they cannot be used in no-stopping zones, clearways, laneways, or on verges. Specific conditions apply, and misuse can result in fines. Residents should familiarize themselves with the specific rules governing their permit zone. Applying for and displaying a valid permit is essential for convenient and legal parking within designated residential areas throughout WA.
Specific Parking Rules
Drivers must park facing traffic flow, maintain safe distances from intersections and driveways, and avoid parking on footpaths or verges illegally.
Parking Direction – Facing Traffic Flow
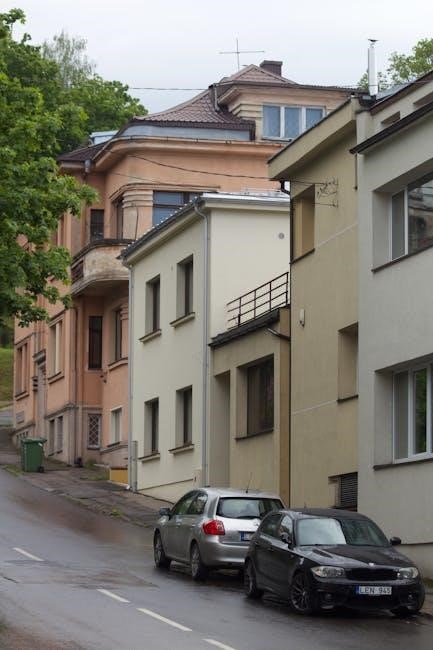
A fundamental rule across Western Australia, and specifically within residential areas, dictates that vehicles must be parked facing the direction of the prevailing traffic flow. This isn’t merely a suggestion; it’s a legal requirement designed to enhance visibility for both the parker and oncoming drivers. Parking against the flow significantly obstructs sightlines, increasing the risk of collisions, particularly on busy streets or around bends.
This regulation applies unless specifically indicated otherwise by signage. Failure to comply can result in a parking infringement notice. Consider the safety implications – a vehicle facing the wrong way can unexpectedly pull out into traffic, creating a hazardous situation. Always double-check the direction of traffic before positioning your vehicle, ensuring a safe and legal parking maneuver. Prioritizing visibility is key to responsible parking.
Distance from Intersections and Crosswalks
Maintaining clear visibility at intersections and crosswalks is paramount for road safety in Western Australian residential zones. Parking regulations strictly prohibit parking within a specified distance of these critical areas. Generally, vehicles cannot park closer than 10 meters from an intersection, ensuring drivers have unobstructed views when entering or exiting roadways.

Similarly, parking near crosswalks is heavily restricted to protect pedestrians. This distance is also typically 10 meters, allowing pedestrians a clear line of sight for approaching vehicles and drivers a clear view of pedestrians intending to cross. Violating these distance rules can lead to substantial fines and contribute to dangerous traffic conditions. Always observe signage and exercise caution when parking near intersections and crosswalks, prioritizing safety for all road users.
Parking on Verges and Footpaths (WA Specifics)
Western Australia has specific regulations regarding parking on verges and footpaths, differing from other states. Generally, parking on verges is prohibited unless specifically permitted by local council signage. Councils may allow verge parking in designated areas, often with time restrictions or permit requirements, to manage residential parking demand.
Parking on footpaths is almost universally prohibited, as it obstructs pedestrian access and poses a safety hazard, particularly for people with disabilities or prams. Even partially obstructing a footpath can result in a fine. Local councils have the authority to enforce these rules strictly. Always check for signage indicating permitted or prohibited parking areas on verges and avoid parking on footpaths entirely to ensure compliance and pedestrian safety.
Parking Near Driveways and Access Points
Maintaining clear access to driveways and other access points is crucial for safety and convenience. In Western Australia, parking directly in front of a driveway, even if not blocking it entirely, is generally prohibited. This rule aims to ensure vehicles can enter and exit properties without obstruction and emergency vehicles have unimpeded access.
Regulations typically extend a certain distance from the driveway’s kerb cut – often several meters – where parking is restricted. Similarly, parking near fire hydrants, pedestrian crossings, or other designated access points is strictly forbidden. Always observe signage and road markings indicating restricted zones. Violations can result in substantial fines and potential vehicle towing. Prioritize accessibility for all road users when choosing a parking spot.

Enforcement and Penalties
Parking violations in Western Australia can lead to fines, vehicle immobilization, or towing, with appeals possible through a defined WA process.
Fines for Parking Violations
Parking infringements in Western Australia carry varying fines depending on the severity of the offense. Generally, fines are issued for breaches of no-parking zones, exceeding time limits, incorrect parking direction, or obstructing access. The exact amount can differ between local government areas (LGAs), so checking specific council regulations is crucial.
Failure to pay a parking fine promptly can result in increased penalties, including late fees and potential court action. Repeat offenders may face even higher fines or other enforcement measures. Information regarding current fine amounts and payment options is typically detailed on the infringement notice itself, and readily available on the relevant LGA or Department of Transport website.
It’s important to note that fines are issued not only for actively parking illegally, but also for stopping in restricted areas, even briefly, for passenger drop-off or pick-up where prohibited. Understanding the specific signage and restrictions is vital to avoid costly penalties.
Vehicle Immobilization and Towing
In Western Australia, authorities possess the power to immobilize or tow vehicles that are parked in serious violation of parking regulations. This typically occurs when a vehicle is obstructing traffic, posing a safety hazard, or repeatedly accumulating unpaid parking fines. Immobilization involves the use of a wheel clamp, preventing the vehicle from being driven.
Towing is reserved for more severe breaches, such as parking in clearways, blocking access for emergency vehicles, or when a vehicle is abandoned. Before towing, attempts are usually made to contact the vehicle owner. Owners are responsible for all towing and storage fees, which can be substantial.
Releasing an immobilized or towed vehicle requires settling all outstanding fines and associated costs. Details regarding the location of the vehicle and the process for its release will be provided by the relevant authority, usually the local council or police.
Appealing a Parking Ticket (WA Process)
If you believe a parking ticket issued in Western Australia is unjust, a formal appeal process is available. Initially, you should contact the issuing authority – typically the local council – to discuss the matter and potentially resolve it informally. If this fails, a written appeal must be lodged within a specified timeframe, usually 28 days from the ticket issue date.
The appeal should clearly state the grounds for contesting the fine, supported by any relevant evidence like photographs or witness statements. Common grounds include faulty signage, unclear road markings, or extenuating circumstances.
The authority will review the appeal and provide a written decision. If unsatisfied, you can escalate the appeal to the State Administrative Tribunal (SAT) for an independent review, but further fees and strict deadlines apply. Detailed information on the WA appeal process is available on the Department of Transport website.

Resources and Further Information
For comprehensive details on WA parking regulations, consult the Department of Transport website and your local council, like the City of Wanneroo’s resources.
City of Wanneroo Parking Information (WA Example)
The City of Wanneroo provides specific parking guidelines for residents, outlining restrictions and permit options within designated areas. Their website details no-stopping zones, parking time limits, and regulations concerning verges and footpaths – crucial for compliance. Residents can find information regarding visitor parking permits and the application process online, alongside details about prohibited parking locations like near intersections and driveways.
Wanneroo’s parking enforcement actively monitors compliance, issuing fines for violations. The council’s website offers a clear map illustrating parking restrictions across different suburbs. Contacting the City directly via phone or email provides personalized assistance regarding specific parking queries or appeals processes. Understanding these local rules is vital for avoiding penalties and ensuring convenient, lawful parking within the Wanneroo municipality. Road, Wanneroo WA 6065 is the address for further inquiries.
WA Government Department of Transport – Parking Guidelines
The Western Australian Department of Transport establishes the overarching framework for parking regulations statewide, impacting residential areas significantly. Their guidelines emphasize safe parking practices, including facing traffic flow and maintaining clear distances from intersections, crosswalks, and driveways. The Department provides resources detailing legal stopping and parking locations, clarifying the differences between ‘No Parking’ and ‘No Stopping’ zones.
These guidelines also address parking on verges and footpaths, outlining specific restrictions to protect pedestrian access and infrastructure. Information regarding vehicle immobilization and towing procedures for parking offenses is readily available on their website. Drivers are encouraged to familiarize themselves with these rules to ensure compliance and avoid penalties. The Department’s resources serve as a foundational understanding of parking laws in WA, complementing local council regulations.